In recent years, it looks like making these out of cloth is gaining a lot of popularity, because you can cut up t-shirts, towels, etc. to make these sandals, "recycling" these items and therefore being environment-friendly! Plus, these are particularly comfy during the hot, humid summers, and they help you keep hardwood floors clean at home - the more you walk around with them on, the more you are wiping down your floors! And since they're made of cloth, you can throw them into the washer if they get dirty.
I took the below photos over the course of the workshop, but it's a confusing process at first so I don't think they serve very well for actually trying how to make these yourself...however, I did find a blog through google that documents/explains the process pretty well (http://ecosamurai.blogspot.com/search/label/Nuno-zori).
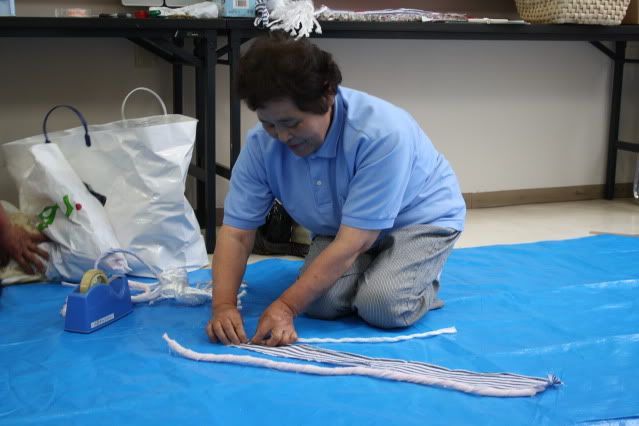 |
| The instructor for the workshop, Suzuki-san! I met her last year when I did a similar workshop for my job. |
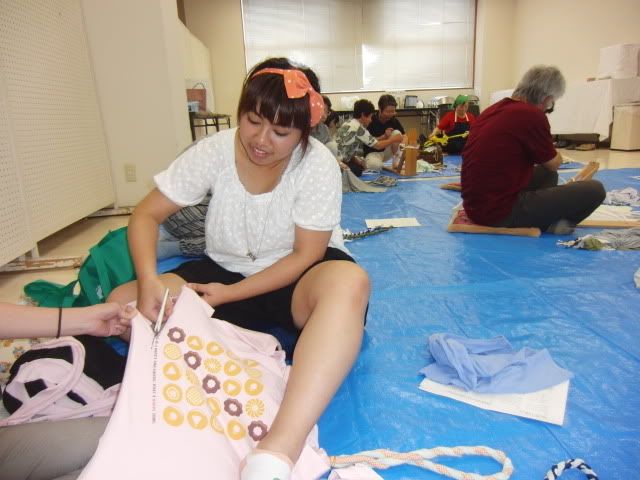 |
| Goodbye Mister Donut t-shirt D: |

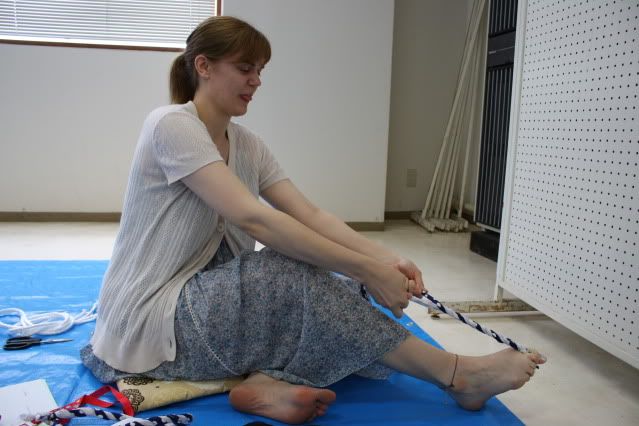
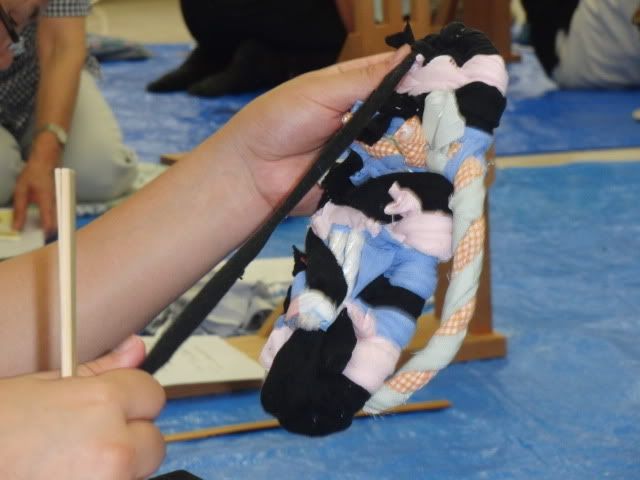
After making the front tip of the sandal (which is one of the most difficult parts of this process, I think), then you just constantly weave - 15cm, or a little over half of the sandal's final size. Make sure to stretch the sandal out horizontally as you weave, or else it might wind up being too narrow!

Once you've woven about 15cm of the sandal, you're ready to weave the tips of the thong into the sandal!

 |
| Bug sandals? |
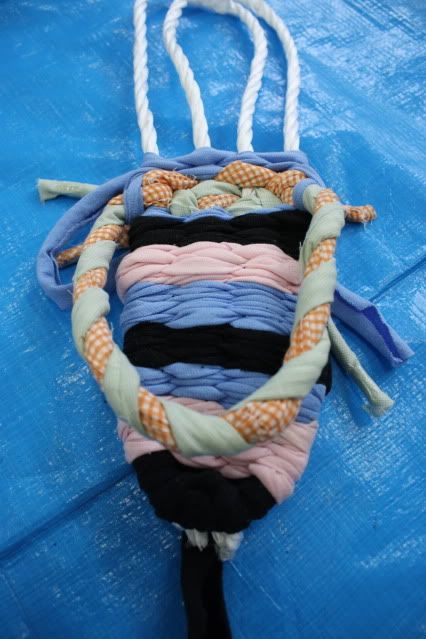
Tie a shorter, thinner rope wrapped in cloth around the center of the thong - this will be the "nose" of the thong. Stab it through the center of the sandal (about 4cm away from the front tip), and tie it securely on the bottom side of the sandal. Trim any long pieces of cloth hanging out of the sandal! Leave just a little bit - as you wear the sandal, these pieces of cloth with naturally flatten themselves into the rest of the sandal...and then that's it!! You're all done~.
 |
| All done!!! |
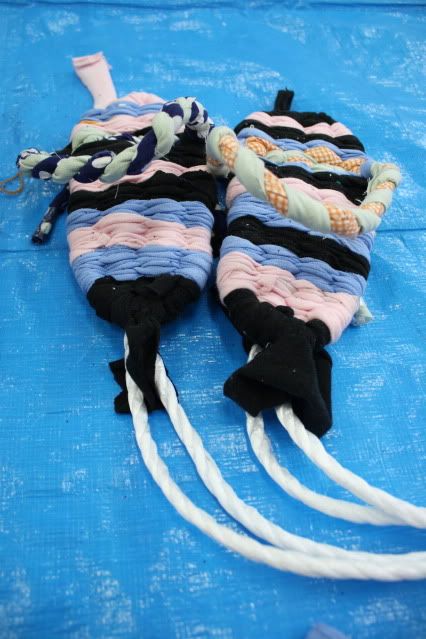
My completed sandals:
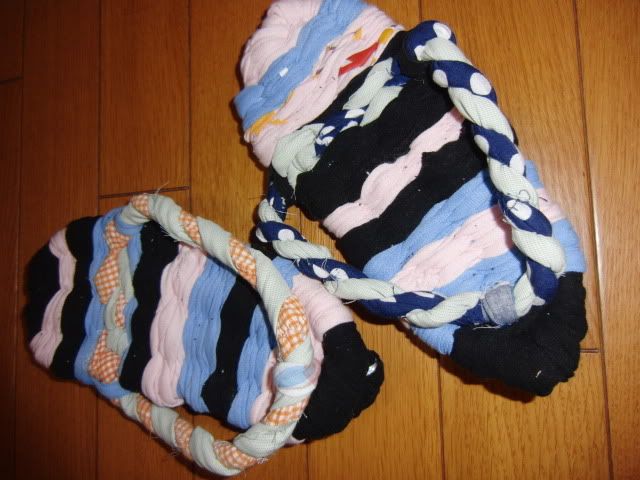 |
| I chose calm? colors because I am planning to give these as a present to a certain someone <3 |
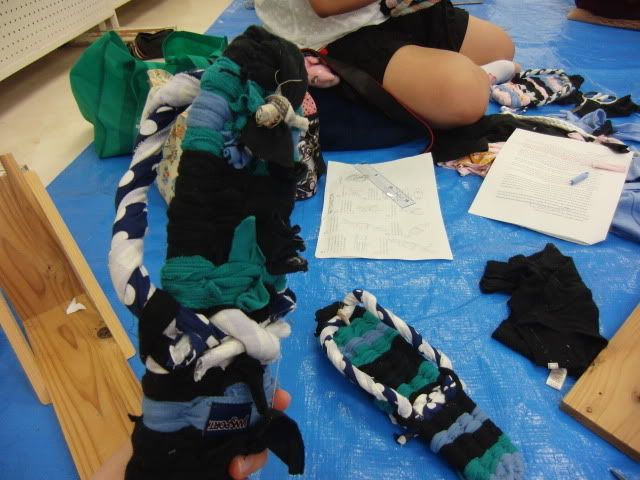
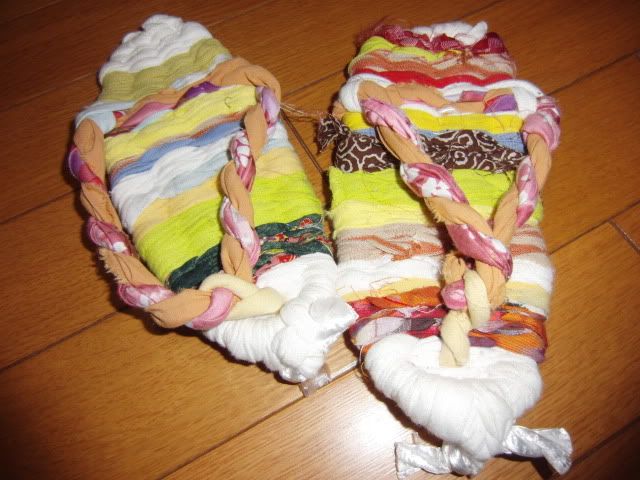 |
| These are the sandals I made last year. It's painfully obvious that the shape of each sandal is totally different from the other...but I do really enjoy the random colorfulness of this pair! |
No comments:
Post a Comment